
Popping Pimples: Safe Steps, Risks, and When to See a Pro
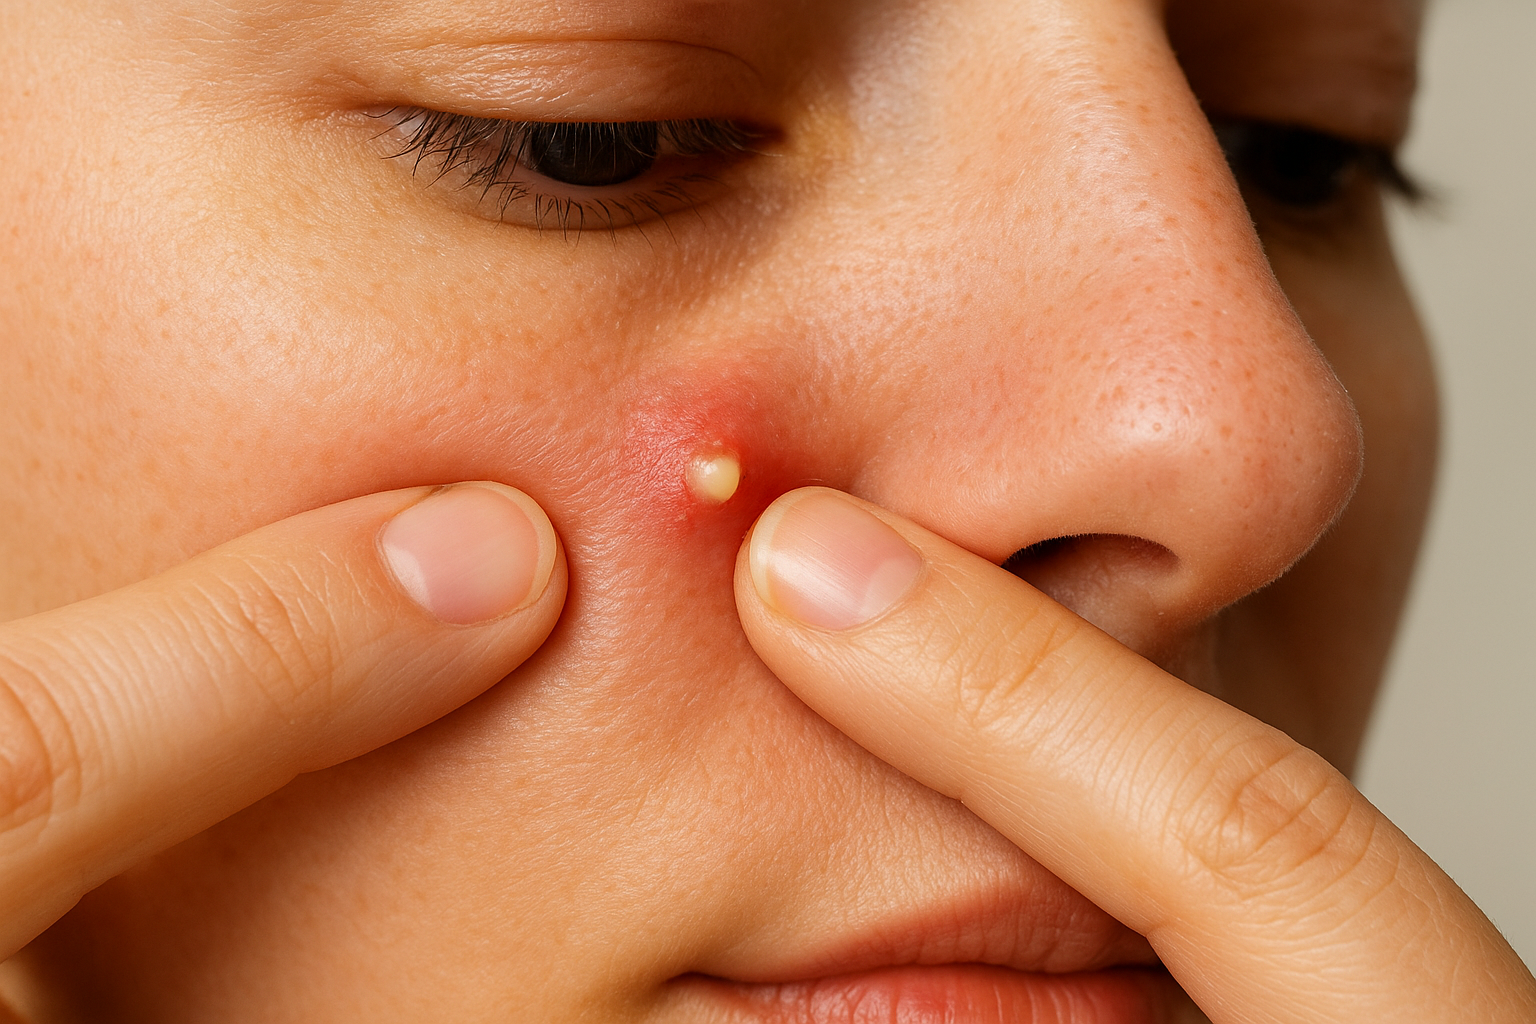
You wake up, look in the mirror, and there it is. A big white pimple staring back at you right before an important day. Your fingers inch closer. You know you shouldn't, but that satisfying pop seems like the fastest fix. Nearly everyone has been there, and the urge to squeeze is real.
Here's what dermatologists want you to know. Popping pimples can push bacteria deeper into your skin, trigger worse inflammation, and leave behind scars or dark marks that last months. But there are safer ways to handle breakouts that won't damage your skin.
This guide walks you through what actually happens when you pop a pimple, why most blemishes should be left alone, and the exact steps to follow if you absolutely must extract one yourself. You'll also learn which products and techniques can clear your skin faster without the risks.
What really happens when you pop pimples
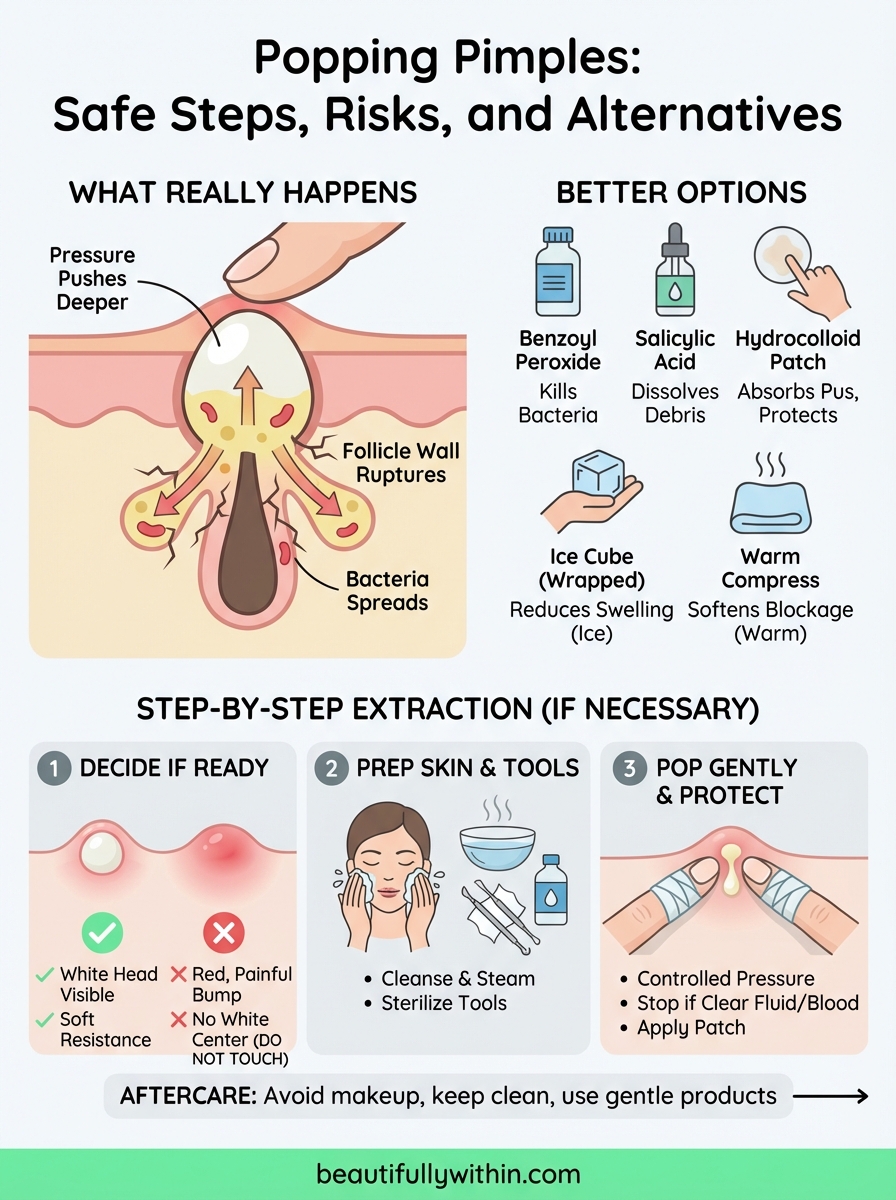
When you squeeze a pimple, you apply pressure from the outside that forces the contents in multiple directions. Some of the pus, oil, and bacteria exit through the surface opening, but much of it gets pushed sideways and deeper into surrounding tissue beneath the visible spot. This ruptures the follicle wall underneath your skin, creating damage that wasn't there before the squeeze.
Breaking the skin barrier
Your pore contains a mixture of sebum, dead skin cells, and bacteria trapped inside an inflamed follicle. The moment you squeeze, you rupture the protective barrier that keeps this infection contained. Debris spreads into the dermis, the deeper layer of skin where collagen and blood vessels live. Think of it like bursting a water balloon underground instead of at the surface.
Squeezing a pimple damages the follicle structure and spreads bacteria into surrounding tissue layers.
The inflammation cascade
White blood cells immediately rush to respond to this new threat, creating more swelling, redness, and heat than you started with. The bacteria from your original pimple now infects multiple adjacent pores, leading to more breakouts clustered around the spot you just squeezed. Damaged tissue struggles to heal properly, which explains why popping pimples often leaves behind dark marks or indented scars that persist for months. Your skin remembers the trauma long after the original pimple disappears.
Better options than popping pimples
Instead of popping pimples, you can shrink them faster and safer with targeted spot treatments and physical methods that work with your skin's natural healing process. These alternatives reduce inflammation without breaking the skin barrier or risking infection. Most work within 24 to 48 hours when applied correctly.
Spot treatments that work fast
Apply benzoyl peroxide (2.5% to 5%) directly on the pimple twice daily to kill bacteria and dry out the blemish. Salicylic acid products penetrate oil-clogged pores to dissolve debris from the inside, making them ideal for whiteheads. Hydrocolloid patches absorb pus and fluid while protecting the area from your fingers. Stick the patch on clean, dry skin and leave it for at least six hours or overnight.

Hydrocolloid patches create a sealed environment that draws out fluid while keeping bacteria away from the pimple.
Ice and warm compresses
Hold an ice cube wrapped in a clean cloth against the pimple for 10 minutes to constrict blood vessels and reduce swelling immediately. Repeat this three times per day when you first notice a painful bump forming. For deeper cysts that feel hard under the skin, apply a warm compress for five minutes instead. The heat softens the blockage and brings the infection closer to the surface, but never squeeze afterward. Let your skin complete the process naturally.
Step 1. Decide if this pimple should be popped
Most pimples should stay untouched, but certain types can be extracted with minimal risk if you identify them correctly. The key is checking for specific visual signs that indicate the infection has reached the surface and formed a complete head. Making the wrong call here causes the scarring and spreading problems that dermatologists warn about.
Signs a pimple is ready
Look for a white or yellow center that sits visibly on top of the skin surface, not buried underneath. The surrounding skin should appear only slightly pink, not red, hot, or swollen. Press gently on the area with clean fingers. If you feel firm resistance or pain, stop immediately. A pimple that's ready to extract will feel soft and the pus will move easily under minimal pressure.
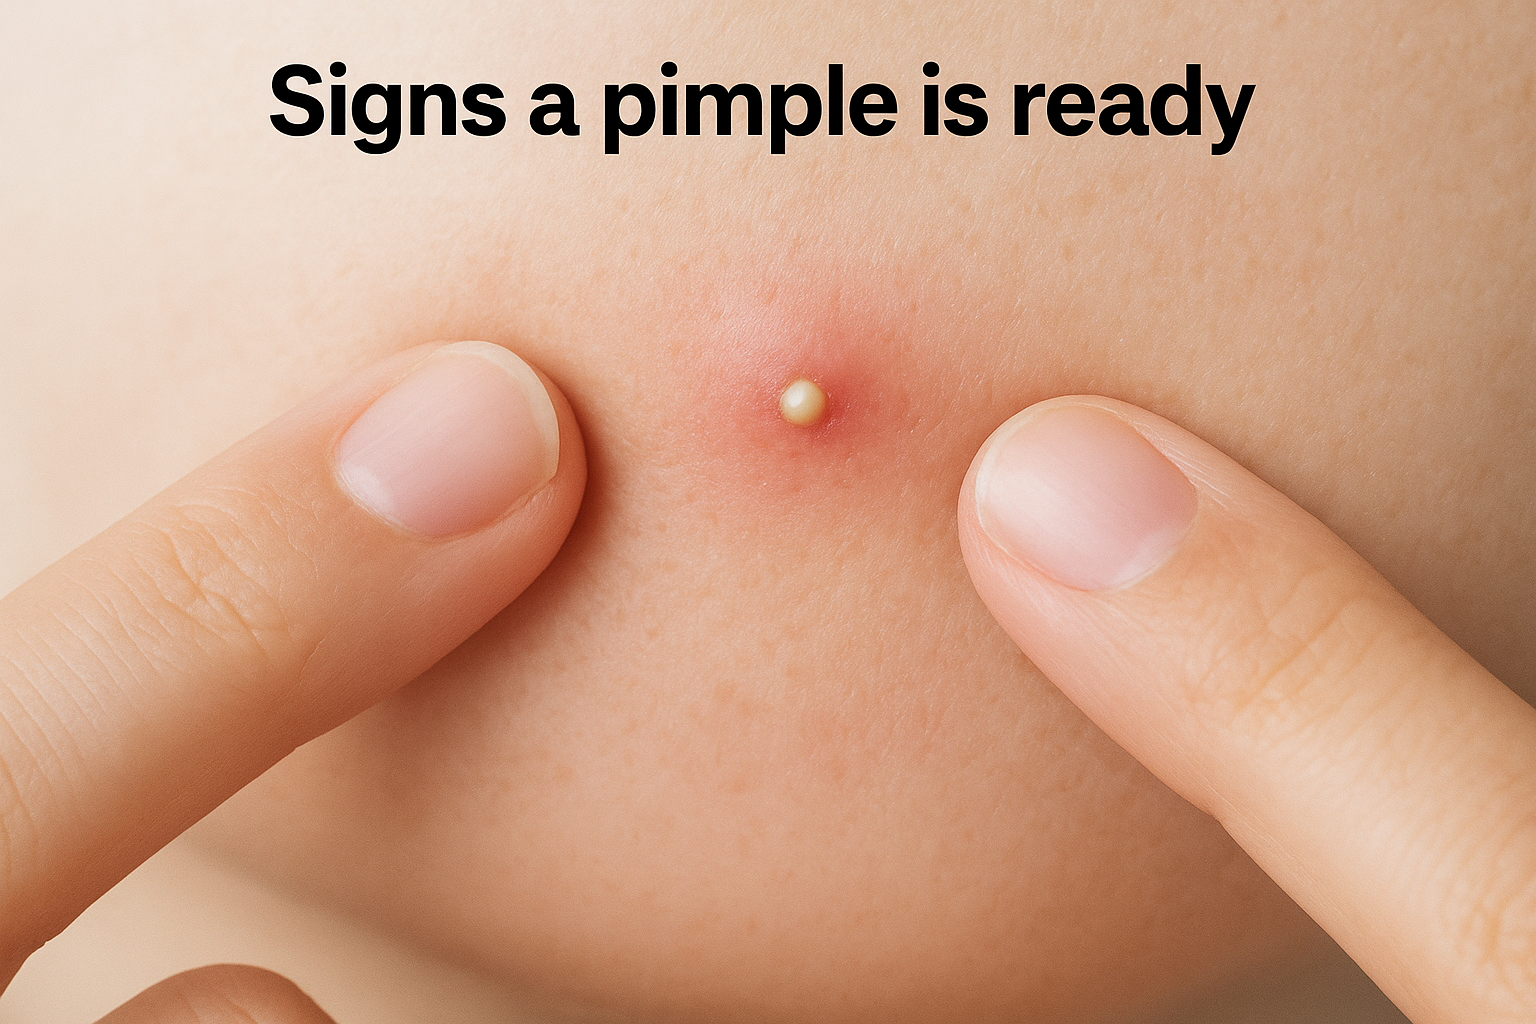
Only extract pimples with a visible white head and soft texture that indicates the infection has surfaced.
Pimples you should never touch
Never attempt popping pimples that appear as red, painful bumps without a white center, as these are papules or nodules with deep infection. Hard cysts that feel like marbles under your skin require professional extraction. Any pimple in the triangle zone from your nose bridge to the corners of your mouth carries infection risks due to blood vessels that connect to your brain. Blackheads and closed comedones also need different extraction methods than pustules.
Step 2. Prep your skin and tools
Clean skin and sterile tools reduce infection risk by removing surface bacteria and preventing new contamination from entering the opened pore. This preparation step takes only five minutes but makes the difference between a clean extraction and a spreading infection. Skip this stage and you multiply your chances of scarring or developing multiple new pimples around the original site.
Clean your face thoroughly
Wash your face with a gentle, pH-balanced cleanser and lukewarm water for 60 seconds, focusing on the area around the pimple. Pat dry with a clean towel, not the one hanging in your bathroom for days. Fill a bowl with hot water (not boiling) and hold your face 12 inches above it for three to five minutes. The steam opens your pores and softens the blockage, making extraction easier and less traumatic to surrounding tissue.
Steam softens the pimple head and opens pores, which reduces the force needed during extraction.
Sterilize your extraction tools
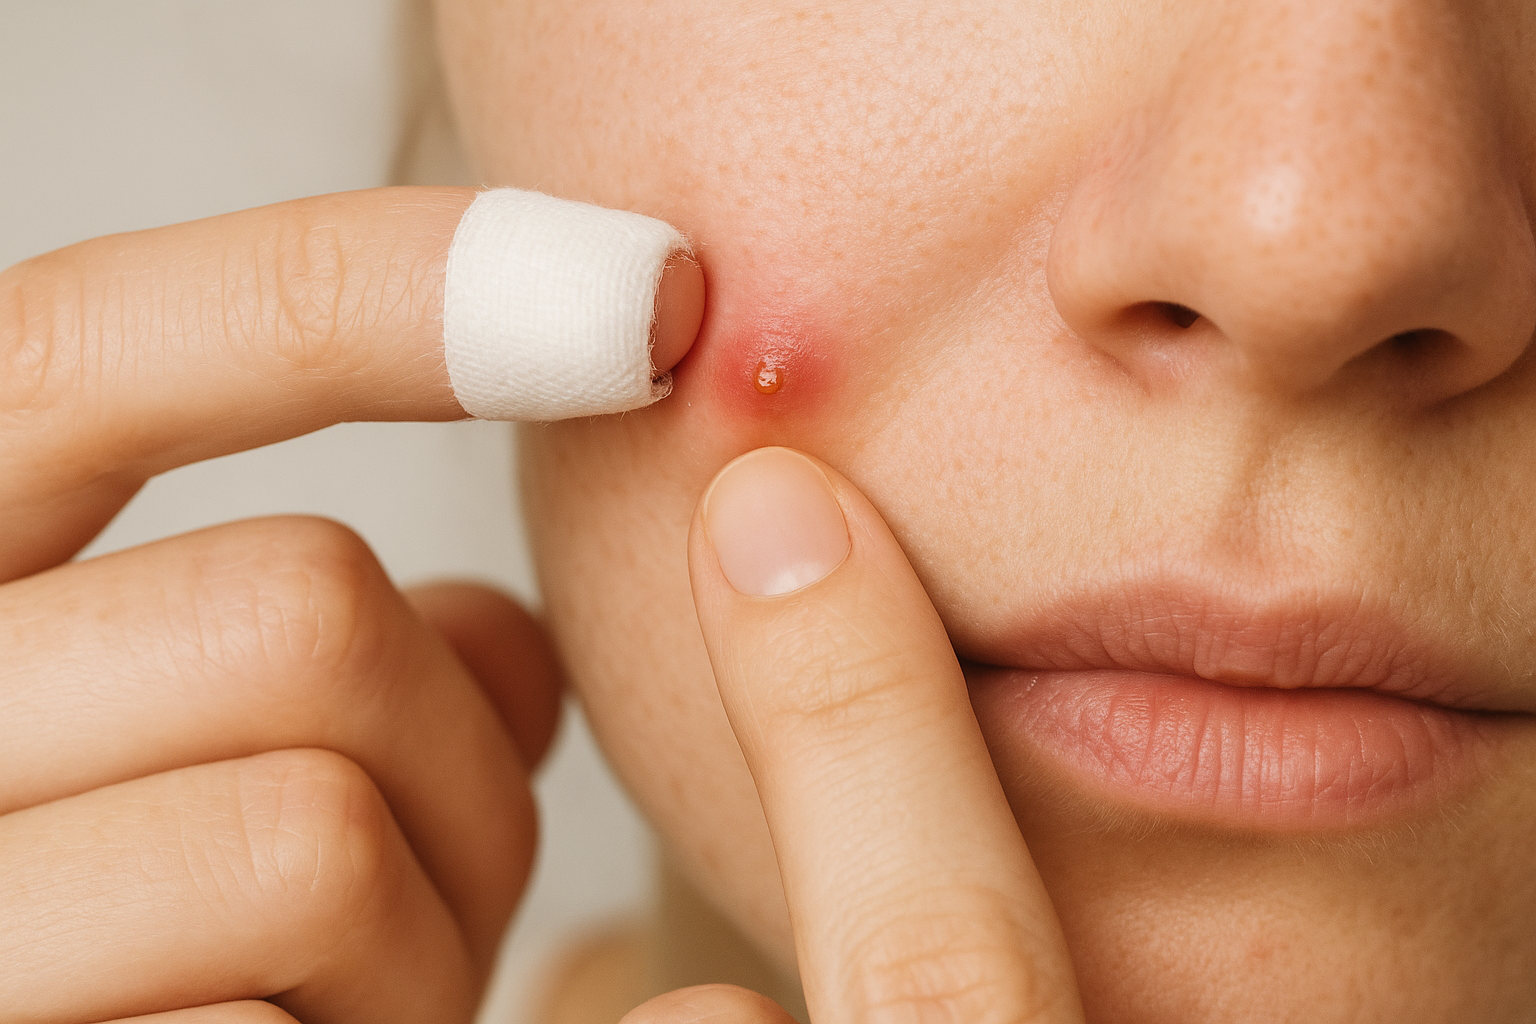
Wash your hands with antibacterial soap for at least 20 seconds, scrubbing under your nails where bacteria hide. If using extraction tools, wipe them with 70% isopropyl alcohol and let them air dry for 30 seconds. Never use unsterilized needles, pins, or your bare fingernails, as these carry the highest infection risk. Wrap your index fingers in clean tissue or gauze to create a barrier between your skin and the pimple during popping pimples.
Step 3. Pop gently and protect your skin
The extraction itself takes less than 10 seconds when done correctly. Apply pressure in the right direction using minimal force, then stop immediately once the pus releases. Continuing to squeeze after the initial release damages healthy tissue and increases scarring risk. Your goal is to create one clean opening that drains completely without trauma to surrounding skin.
Apply controlled pressure
Position your wrapped fingers on opposite sides of the pimple head, about a quarter inch away from the visible white center. Press down and slightly inward toward the base of the pimple, not straight into the surface. The pus should flow out smoothly within two to three seconds of gentle pressure. If nothing releases after five seconds, stop completely. The pimple isn't ready, and forcing it will rupture the follicle wall underneath.
Stop squeezing immediately if you see clear fluid or blood instead of white pus, as this signals tissue damage.
Stop and protect immediately
Release pressure the moment you see clear fluid or blood following the initial pus discharge. Wipe away the drainage with a clean tissue, then apply a thin layer of benzoyl peroxide or antibiotic ointment to the opened pore. Cover the area with a hydrocolloid patch to absorb any remaining fluid and block bacteria from entering. Keep the patch on for at least six hours. Avoid touching, picking, or applying makeup to the extraction site for 24 hours while popping pimples heals the break in your skin barrier.
Next steps for calmer, clearer skin
Your skin heals faster when you stop popping pimples and adopt consistent prevention habits instead. Start using a gentle cleanser twice daily and apply benzoyl peroxide or salicylic acid products to prevent new breakouts from forming. These ingredients address the root causes of acne by controlling oil production and clearing blocked pores before they become inflamed.
Build a routine that includes moisturizer with SPF during the day and a hydrating formula at night. Consistent care reduces the temptation to squeeze because you'll see fewer breakouts overall. Browse our complete skincare and beauty collection to find products that target your specific skin concerns while protecting sensitive areas.
Schedule a dermatologist appointment if you experience painful cysts, constant breakouts, or scarring despite following proper care steps. Professional treatments deliver results that over-the-counter products cannot match.
0 comments