
You wash your face before bed, slap on some moisturizer, and call it a night. But then you wonder why your skin never looks as glowing and smooth as you hoped. The truth is, most people get nighttime skincare wrong because they either skip essential steps or layer products in the wrong order, which means expensive serums and treatments never get the chance to work their magic.
Your skin does most of its repair work while you sleep. When you support that natural process with the right products in the right sequence, you wake up with clearer, softer, more radiant skin. Building an effective nighttime routine doesn't require a bathroom counter full of bottles or a complicated 12-step process. It just takes understanding what your skin actually needs and when to apply it.
This guide walks you through each step of a nighttime skincare routine that delivers real results. You'll learn exactly what to use, in what order, and how to customize everything for your specific skin type and concerns. Whether you're dealing with acne, dryness, signs of aging, or just want healthier skin, you'll have a clear plan to follow tonight.
Why a nighttime skincare routine matters
Your skin operates on a 24-hour cycle, and nighttime is when it shifts from defense mode to repair mode. During the day, your skin works hard to protect itself from UV damage, pollution, and environmental stress. But when you sleep, cell regeneration speeds up by as much as two to three times compared to daytime. This is when your body produces new collagen, repairs DNA damage, and replaces old cells with fresh ones.
Your skin's natural repair cycle
Between 11 PM and midnight, your skin reaches peak permeability, which means it absorbs products more effectively than at any other time of day. Blood flow to your face increases while you sleep, delivering more oxygen and nutrients to skin cells. Your body also produces growth hormones during deep sleep phases that help rebuild damaged tissue and strengthen your skin barrier. This natural renewal process is why people call it "beauty sleep."
What happens when you skip nighttime care
Without a proper nighttime skincare routine, you miss the window when your skin is most receptive to treatment. Environmental damage accumulates overnight, and free radicals from the day continue to break down collagen and elastin while you sleep. Your skin also loses moisture at a faster rate at night, which leads to dehydration and dullness by morning. When you layer the right products before bed, you're essentially giving your skin the raw materials it needs to repair itself efficiently. You're not just preventing damage; you're actively supporting the biological processes that keep your skin healthy, firm, and glowing.
A nighttime skincare routine works with your body's natural repair cycle, not against it.
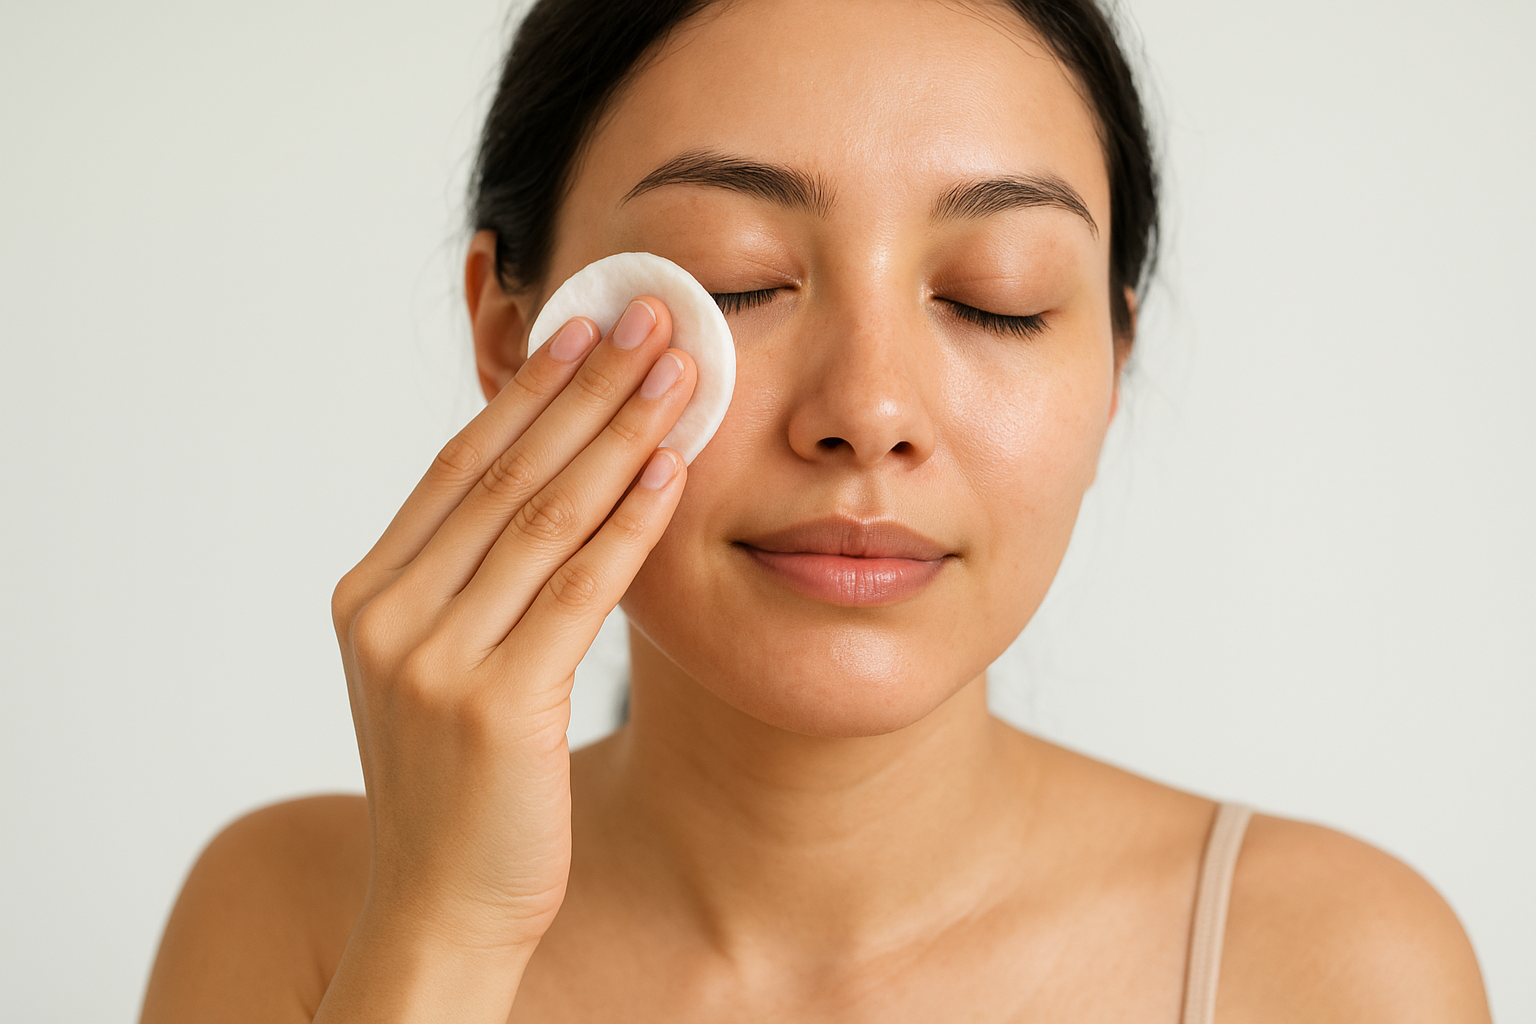
Step 1. Remove makeup and SPF
The first step in any nighttime skincare routine is removing makeup and sunscreen completely before you do anything else. Regular cleansers alone cannot break down the oil-based ingredients in makeup and SPF formulas. These products contain silicones, waxes, and synthetic polymers designed to stay on your face all day, which means they require a specialized remover to dissolve them properly. When you skip this step, you end up pushing makeup and SPF deeper into your pores during cleansing, which leads to clogged pores, breakouts, and dull skin.
Why double cleansing starts here
Oil-based makeup removers work on a simple principle: oil dissolves oil. Your makeup and sunscreen contain lipophilic (oil-loving) ingredients that regular water-based cleansers cannot break down effectively. An oil cleanser, cleansing balm, or micellar water attracts these oil-based products and lifts them away from your skin without harsh scrubbing. This process prevents you from tugging at delicate facial skin and keeps your skin barrier intact. Without proper makeup removal, your expensive serums and treatments applied later will sit on top of a layer of residue instead of penetrating clean skin.
Start with clean skin, or nothing else in your routine will work as it should.
How to remove makeup the right way
Apply your makeup remover to dry skin first, not wet skin. This allows the oil-based formula to bind with the makeup and SPF more effectively. Use your fingertips to massage the product in circular motions across your entire face for at least 60 seconds, paying extra attention to areas where makeup tends to build up like around your nose, hairline, and jawline.
For eye makeup, soak a cotton pad with remover and hold it against your closed eyelid for 10 to 15 seconds before gently wiping away. This softens waterproof mascara and eyeliner without pulling at the delicate eye area. Then emulsify the cleanser by adding a small amount of water to your face and continuing to massage for another 30 seconds. Rinse thoroughly with lukewarm water until all residue is gone.
Product options that work:
- Cleansing balms that melt into oil
- Oil cleansers with natural or synthetic oils
- Micellar water for lighter makeup
- Cleansing oils specifically formulated for waterproof products
Step 2. Cleanse without stripping skin
After you remove makeup and SPF, you need a second cleanse to wash away the oil-based remover and any remaining impurities. This step completes the double cleansing method that forms the foundation of an effective nighttime skincare routine. Your skin accumulates dead cells, excess sebum, and environmental pollutants throughout the day, and these need to be cleared away before you apply treatment products. The key is choosing a gentle, pH-balanced cleanser that removes dirt without disrupting your skin's protective barrier or leaving it feeling tight and dry.
Understanding pH balance and your skin barrier
Your skin's natural pH sits around 4.5 to 5.5, which is slightly acidic. This acidic environment keeps harmful bacteria at bay and maintains your moisture barrier intact. When you use harsh cleansers with high pH levels (typically alkaline soaps), you strip away your skin's natural oils and disrupt this protective acid mantle. Your face might feel squeaky clean, but that tight, dry sensation signals that you've damaged your skin barrier. A compromised barrier leads to increased water loss, sensitivity, and makes your skin more vulnerable to irritation and breakouts.
Your cleanser should leave your skin feeling clean and comfortable, never tight or stripped.
Choosing the right cleanser formula
Gel cleansers work well for oily and combination skin because they remove excess sebum without adding more oil. Cream and milk cleansers suit dry and sensitive skin better since they contain more moisturizing ingredients that clean gently without dehydration. Foam cleansers fall somewhere in between and work for most skin types, but avoid formulas with sulfates like sodium lauryl sulfate (SLS) that create excessive lather and strip your skin.
Look for these gentle cleansing ingredients:
- Glycerin for hydration
- Ceramides to support barrier function
- Hyaluronic acid to retain moisture
- Amino acids for gentle cleansing
Proper cleansing technique
Wet your face with lukewarm water, not hot water that can damage capillaries and dry out your skin. Dispense a nickel-sized amount of cleanser into your palms and rub them together to warm the product. Apply the cleanser to your face using gentle, circular motions for 60 seconds, covering your entire face, neck, and jawline. Pay attention to areas where oil and dirt accumulate, like around your nose and along your hairline.
Rinse thoroughly with lukewarm water until no cleanser residue remains. Pat your face dry with a clean towel using gentle pressing motions instead of rubbing. Your skin should feel clean, soft, and ready to absorb the products you apply next in your nighttime skincare routine.
Step 3. Exfoliate for smooth, clear skin
Exfoliation removes the dead skin cells that accumulate on your skin's surface and make your complexion look dull and uneven. Your skin naturally sheds millions of dead cells every day, but this process slows down as you age, and dead cells start to pile up. This buildup clogs your pores, prevents your skincare products from absorbing properly, and creates a rough texture that no amount of moisturizer can fix. Adding exfoliation to your nighttime skincare routine accelerates cell turnover and reveals the fresh, healthy skin underneath.
Physical vs. chemical exfoliation
Physical exfoliants use small particles or textured surfaces to manually scrub away dead cells. These include facial scrubs with sugar or jojoba beads, brushes, and exfoliating cloths. While physical exfoliation provides immediate smoothness, it can cause micro-tears in your skin if you scrub too hard or use products with jagged particles like walnut shells or apricot kernels. Chemical exfoliants dissolve the bonds between dead cells using acids instead of manual scrubbing, which makes them gentler and more effective for most skin types.
Chemical exfoliants fall into two main categories:
Alpha hydroxy acids (AHAs) like glycolic acid and lactic acid work on the skin's surface to improve texture, reduce discoloration, and smooth fine lines. These water-soluble acids suit dry and sun-damaged skin best. Beta hydroxy acids (BHAs) like salicylic acid penetrate into oil-filled pores, which makes them ideal for oily and acne-prone skin. BHAs cut through sebum and clear out blackheads more effectively than AHAs.
Chemical exfoliants work deeper than physical scrubs without the risk of damaging your skin barrier.
How often to exfoliate
Your exfoliation frequency depends on your skin type and the strength of your exfoliant. Start with once or twice per week and increase gradually as your skin builds tolerance. Never exfoliate every night unless you're using an extremely gentle formula specifically designed for daily use.
Exfoliation frequency by skin type:
- Oily and acne-prone: 2 to 3 times per week
- Combination: 2 times per week
- Normal: 1 to 2 times per week
- Dry and sensitive: Once per week maximum
- Mature: 2 times per week with gentle formulas
Exfoliation technique that works
Apply your exfoliant to clean, dry skin after cleansing and before applying any other products. For chemical exfoliants, dispense the product onto a cotton pad or your fingertips and sweep it across your entire face, avoiding the eye area. Let it absorb for 30 to 60 seconds before moving to the next step in your routine. You don't need to rinse off leave-on chemical exfoliants.
With physical scrubs, use a dime-sized amount and apply it to damp skin using gentle circular motions for no more than 30 seconds. Focus on areas where dead cells accumulate, like your forehead, nose, and chin. Rinse thoroughly with lukewarm water and pat dry. Your skin should feel smooth but not raw or irritated.
Step 4. Apply targeted treatments
This step in your nighttime skincare routine addresses your specific skin concerns with concentrated active ingredients. Treatment products like serums, retinoids, and spot treatments contain higher concentrations of active ingredients than cleansers or moisturizers, which makes them the most powerful step in your routine. You apply treatments after exfoliation (if you're exfoliating that night) and before moisturizer because their lightweight formulas need direct contact with clean skin to penetrate effectively. The ingredients in treatment products work overnight to correct issues like acne, hyperpigmentation, fine lines, and uneven texture while your skin's repair processes are most active.
Understanding treatment serums
Treatment serums have smaller molecular structures than creams, which allows their active ingredients to penetrate deeper into your skin layers. These concentrated formulas target specific concerns with ingredients like retinol for anti-aging, niacinamide for pore refinement, vitamin C for brightening, or hyaluronic acid for hydration. You only need 3 to 4 drops of serum for your entire face because the formulas are highly concentrated. Apply serums to slightly damp skin immediately after cleansing or exfoliating, when your skin is most receptive to absorption.

Your treatment serums do the heavy lifting in your skincare routine, so choose them based on your primary concerns.
Press the serum into your skin using gentle patting motions with your fingertips rather than rubbing it in. Start at the center of your face and work outward, covering your forehead, cheeks, nose, and chin. Extend the serum down to your neck and décolletage if you have enough product. Wait 30 to 60 seconds before applying the next layer to allow the serum to absorb fully.
How to layer multiple treatments
When you use more than one treatment product in your nighttime skincare routine, apply them from thinnest to thickest consistency. Start with water-based serums, then move to gel treatments, and finish with oil-based or heavier cream treatments. This layering method prevents thicker products from creating a barrier that blocks lighter formulas from absorbing.
Proper treatment layering order:
- Water-based serums (hyaluronic acid, niacinamide)
- Treatment essences or lightweight gels
- Retinoids or prescription treatments
- Oil-based serums or heavier treatments
- Spot treatments for specific blemishes
Wait 60 seconds between each layer to give the active ingredients time to absorb before you add the next product. You should not use more than three treatment products in one night because layering too many actives can overwhelm your skin and cause irritation.
Common treatment ingredients and their benefits
Different active ingredients address specific skin concerns, and understanding what each one does helps you build an effective nighttime skincare routine. Retinol and retinoids (like tretinoin) increase cell turnover and boost collagen production to reduce fine lines and wrinkles. Niacinamide (vitamin B3) strengthens your skin barrier, minimizes pores, and reduces redness. Vitamin C brightens dark spots and protects against free radical damage, though most people use it in the morning rather than at night.
Hyaluronic acid attracts and holds 1,000 times its weight in water, which makes it the gold standard for hydration. Salicylic acid penetrates into oil-filled pores to clear acne and prevent future breakouts. Alpha hydroxy acids like glycolic and lactic acid exfoliate the surface to improve texture and fade hyperpigmentation. Peptides signal your skin to produce more collagen and elastin, which helps firm and plump aging skin.
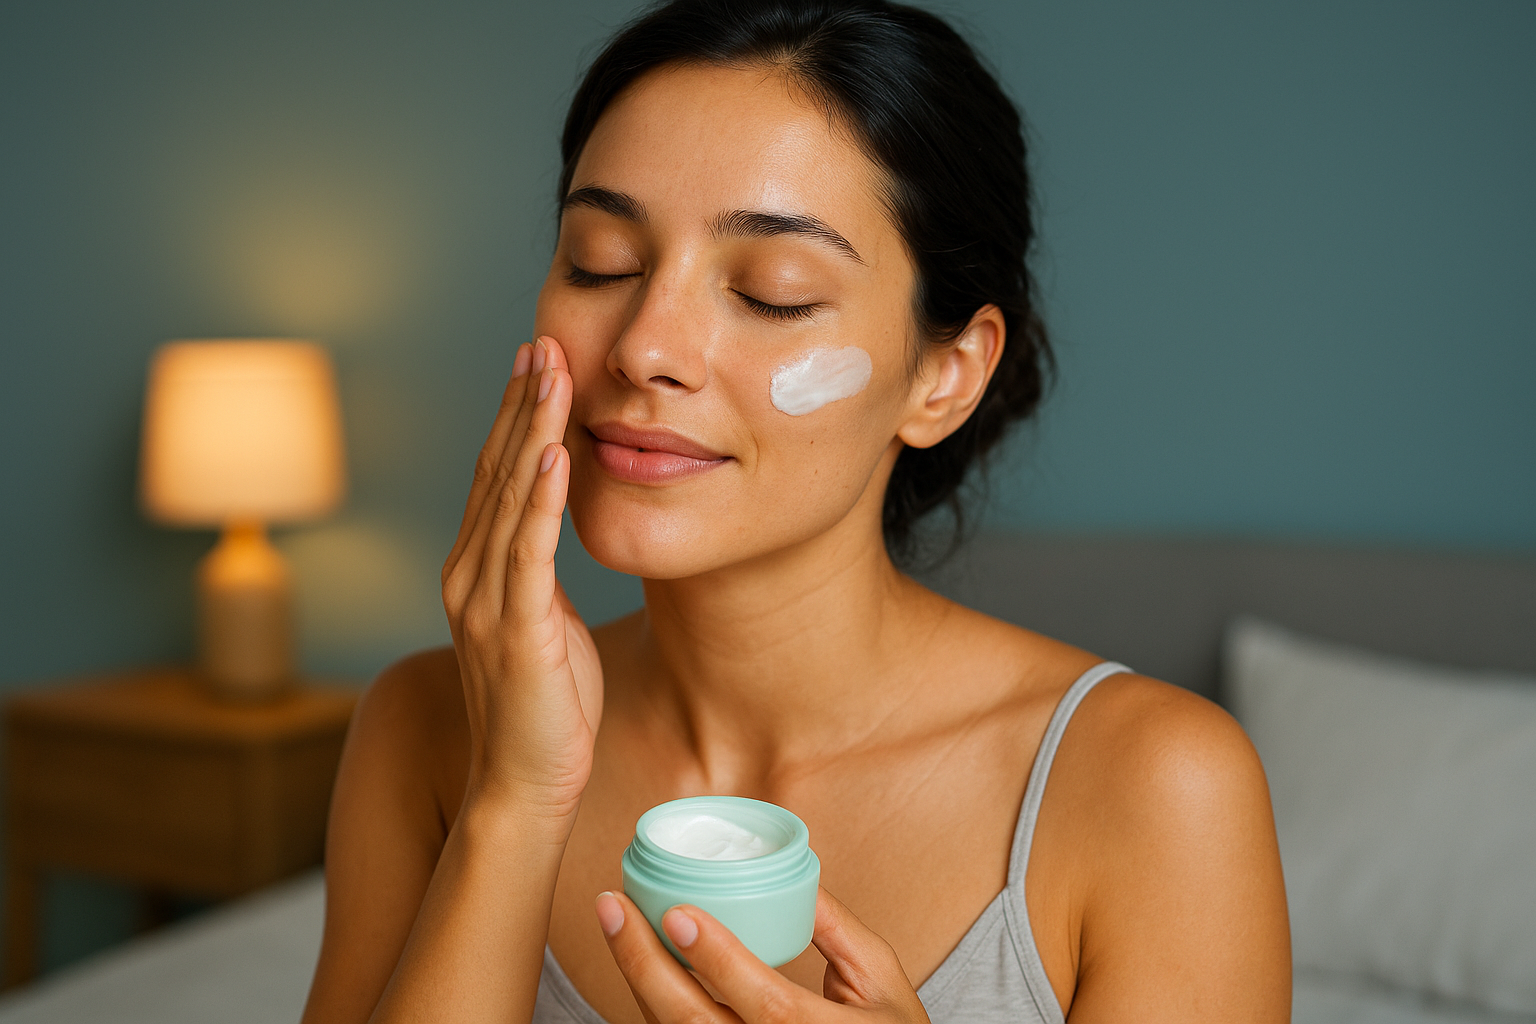
Step 5. Hydrate and seal in moisture
Moisturizer forms the protective barrier that locks in all the active ingredients you applied in previous steps and prevents transepidermal water loss while you sleep. Your skin loses moisture at a faster rate during the night than during the day, with water evaporating through your skin barrier as you rest. A quality moisturizer creates an occlusive layer on your skin's surface that traps hydration inside while providing the lipids and humectants your skin needs to repair itself. This step in your nighttime skincare routine determines whether you wake up with plump, dewy skin or a tight, dehydrated complexion that shows every fine line.
Choosing the right moisturizer texture
Your moisturizer should match your skin type and the current season because your hydration needs change throughout the year. Gel moisturizers work best for oily and combination skin because they provide lightweight hydration without adding excess oil. These water-based formulas absorb quickly and won't clog your pores or create a greasy feeling.
Cream moisturizers suit normal to dry skin types with their richer textures that contain more emollients and occlusives. These thicker formulas create a stronger barrier against moisture loss and deliver lasting hydration through the night. During winter months or in dry climates, you might need to switch from a gel to a cream formula even if you typically have oily skin. Your skin tells you what it needs: if you wake up with tight, flaky patches, you need a richer moisturizer.
Key moisturizing ingredients to look for:
- Ceramides that rebuild your skin barrier
- Hyaluronic acid that attracts moisture
- Glycerin that draws water into skin
- Squalane that mimics your natural sebum
- Peptides that support collagen production
How to apply moisturizer correctly
Wait 60 to 90 seconds after applying your treatment serums before you apply moisturizer. This gives your active ingredients time to absorb without being diluted by your moisturizer. Dispense a pea-sized amount for your face and a separate amount for your neck. Warm the product between your palms by rubbing your hands together, which makes the moisturizer spread more easily and absorb better.
Press the moisturizer into your skin using gentle upward and outward motions rather than rubbing it in. Start at your neck and décolletage, then move up to your chin, cheeks, nose, and forehead. This upward application technique prevents you from pulling your skin downward, which can contribute to sagging over time. Don't forget the often-neglected areas like your jawline and the sides of your face near your ears.
Lock in your treatment products with moisturizer, or they'll evaporate before they can work their magic.
Adding a facial oil for extra sealing
Facial oils provide an additional occlusive layer that seals in all the water-based products you applied earlier in your nighttime skincare routine. Apply 2 to 3 drops of facial oil as your final step if your skin needs extra moisture or if you live in a dry climate. Press the oil gently into your skin instead of rubbing it in circles. Oils work best on top of moisturizer rather than underneath because they create a barrier that water-based products cannot penetrate.
Step 6. Customize by skin type and concern
Your skin type determines which products and ingredients work best in your nighttime skincare routine. What clears up acne-prone skin might trigger breakouts in sensitive skin, and what hydrates dry skin could leave oily skin looking greasy by morning. Understanding your specific skin needs helps you choose the right formulas and avoid wasting money on products that don't address your concerns. You can follow the same basic steps outlined earlier while swapping in products formulated for your skin type's unique characteristics.
Oily and acne-prone skin adjustments
Your nighttime skincare routine should focus on controlling excess sebum and preventing clogged pores without stripping your skin. Use a gel cleanser with salicylic acid as your second cleanse to keep pores clear. Add a BHA exfoliant 2 to 3 times per week to dissolve the oil and dead cells that cause blackheads and breakouts. Choose lightweight, water-based serums with niacinamide to regulate oil production and reduce inflammation.
Product swaps for oily skin:
- Replace cream moisturizers with oil-free gel formulas
- Use spot treatments with benzoyl peroxide or salicylic acid on active blemishes
- Add a clay mask once per week to absorb excess oil
- Choose non-comedogenic products that won't clog pores
Dry and dehydrated skin adjustments
Your skin needs extra hydration and barrier repair throughout your nighttime skincare routine. Switch to a cream or milk cleanser that cleans without stripping your natural oils. Layer multiple hydrating serums with hyaluronic acid, glycerin, and ceramides before your moisturizer. Use a rich cream moisturizer with occlusives like shea butter and seal everything with a facial oil.
Skip exfoliation if your skin feels tight or shows flaky patches. When you do exfoliate, use gentle lactic acid instead of stronger glycolic acid because it hydrates while it exfoliates. Apply your moisturizer to damp skin immediately after serums to trap more water in your skin barrier.
Dry skin needs layered hydration, not just one heavy cream thrown on at the end.
Sensitive skin adjustments
Your nighttime skincare routine should minimize irritation while supporting your compromised skin barrier. Choose fragrance-free products with minimal ingredients and avoid common irritants like alcohol, essential oils, and artificial dyes. Start new treatments slowly by using them every third night until your skin builds tolerance. Focus on barrier-repairing ingredients like ceramides, centella asiatica, and colloidal oatmeal.
Patch test every new product on your inner forearm for 24 hours before applying it to your face. Keep your routine simple with fewer steps and fewer active ingredients to reduce the risk of reactions.
Mature and aging skin adjustments
Your nighttime skincare routine needs ingredients that boost collagen production and cell turnover to address fine lines, wrinkles, and loss of firmness. Add a retinol or prescription retinoid as your primary treatment after you've built up tolerance through gradual introduction. Layer peptide serums that signal your skin to produce more collagen and elastin. Use a rich cream moisturizer with antioxidants and growth factors that support your skin's repair processes.
Exfoliate regularly with AHAs to remove the buildup of dead cells that makes mature skin look dull. Add an eye cream with caffeine and peptides to address crow's feet and under-eye bags that become more pronounced with age.
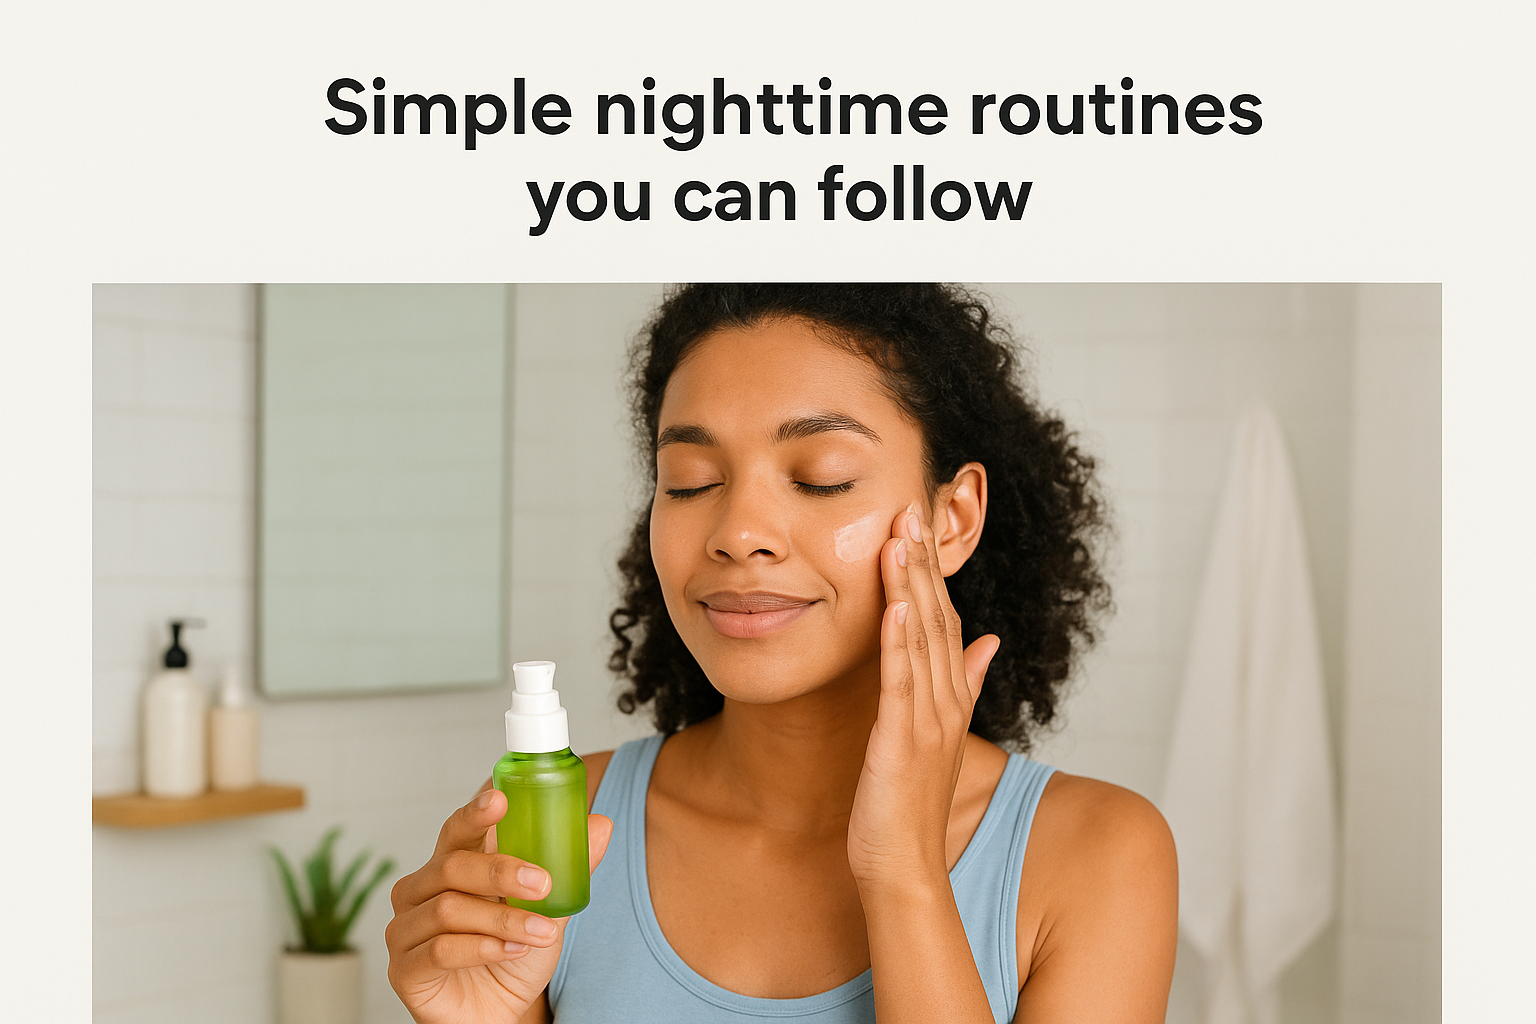
Simple nighttime routines you can follow
You understand the steps, but seeing them come together in a complete routine makes everything clearer. These ready-to-use templates show exactly what to do each night based on your skin type and concerns. You can start with one of these routines tonight and adjust as you learn what works best for your skin. Each routine follows the proper order of application and includes specific timing to help you get the best results from your products.
Basic routine for all skin types
This streamlined nighttime skincare routine works for normal skin and provides a solid foundation if you're just starting to build a consistent routine. You complete all steps in 10 to 12 minutes, and your skin gets everything it needs without overwhelming it with too many products.
7-step basic routine:
- Remove makeup with micellar water or cleansing balm (60 seconds)
- Cleanse with gentle cream or gel cleanser (60 seconds)
- Apply hydrating toner to damp skin (30 seconds)
- Wait 30 seconds for absorption
- Apply hyaluronic acid serum (3-4 drops, 30 seconds)
- Wait 60 seconds for serum to absorb
- Apply moisturizer appropriate for your skin type (30 seconds)
Add exfoliation twice per week on non-consecutive nights, applying your chemical exfoliant after toning and before your serum. Your skin should feel clean, hydrated, and comfortable when you finish this routine.
Routine for oily and acne-prone skin
Your nighttime skincare routine needs ingredients that control oil production and prevent breakouts without stripping your natural moisture barrier. This routine focuses on keeping pores clear while maintaining the hydration your skin needs to heal from acne and prevent future blemishes.
Complete acne-fighting routine:
- Remove SPF and makeup with cleansing oil (60 seconds)
- Cleanse with salicylic acid gel cleanser (60 seconds)
- Apply BHA toner or leave-on exfoliant (30 seconds, 2-3 times weekly)
- Wait 60 seconds for exfoliant to absorb
- Apply niacinamide serum to control oil (3-4 drops, 30 seconds)
- Spot treat active blemishes with benzoyl peroxide (as needed)
- Apply oil-free gel moisturizer (30 seconds)
Skip the BHA toner on nights when your skin feels sensitive or irritated. Your goal is consistent improvement, not aggressive treatment that damages your skin barrier and makes acne worse.
Clear skin comes from consistency with the right products, not from harsh ingredients that strip your face.
Routine for dry and mature skin
Dry skin needs multiple layers of hydration sealed with richer formulas that prevent moisture loss overnight. This routine builds hydration through layering while incorporating anti-aging treatments that work best during your skin's natural repair cycle.
Hydrating anti-aging routine:
- Remove makeup with cleansing balm (60 seconds)
- Cleanse with creamy milk cleanser (60 seconds)
- Apply hydrating essence or toner to damp skin (30 seconds)
- Layer hyaluronic acid serum on damp skin (3-4 drops, 30 seconds)
- Wait 60 seconds, then apply retinol serum (2-3 times weekly)
- Wait 90 seconds for retinol to absorb
- Apply peptide serum (3-4 drops, 30 seconds)
- Apply rich cream moisturizer (pea-sized amount, 30 seconds)
- Press 2-3 drops of facial oil to seal everything (15 seconds)
Start retinol use once per week for the first month, then increase to twice weekly, then three times weekly as your skin builds tolerance. Apply extra moisturizer around your eyes and on any areas that tend to get flaky.
Weekend intensive treatment routine
Add this enhanced routine once or twice per week when you have extra time to give your skin deeper treatment. You complete this routine in about 20 minutes and wake up with noticeably softer, brighter skin.
Enhanced treatment routine:
- Remove makeup and SPF (60 seconds)
- Cleanse thoroughly (60 seconds)
- Apply chemical exfoliant (AHA or BHA based on skin type, 30 seconds)
- Wait 2-3 minutes for exfoliant to work
- Apply hydrating sheet mask (15 minutes)
- Remove mask and pat in remaining essence (30 seconds)
- Apply targeted treatment serum (30 seconds)
- Apply eye cream to orbital bone (30 seconds)
- Apply moisturizer (30 seconds)
- Seal with facial oil (optional, 15 seconds)
Use this intensive nighttime skincare routine on nights when you can go to bed within 30 minutes of finishing to let all the products absorb without interference from pillowcases or hair touching your face.

Keep your glow going
You now have everything you need to build a nighttime skincare routine that delivers real results. The steps are simple: remove makeup, cleanse, exfoliate when needed, apply treatments, and seal with moisturizer. Your skin does its best repair work while you sleep, and these products give it the support it needs to wake up looking refreshed and glowing.
Start with the basic routine tonight and adjust as you learn what your skin responds to best. You don't need every product mentioned in this guide right away. Pick two or three products that address your primary concerns, use them consistently for at least four weeks, then add more if needed.
Consistency beats perfection every time. Your skin improves when you show up with the right products night after night, not from complicated routines you quit after a week. Explore quality skincare products that support your natural beauty from within and help you build the routine that works for your unique skin.